Tuesday, February 1, 2011

Dagnabbit


I know, I know, this is not a word you can find in the dictionary.  You might hear it uttered by a favorite cartoon character or… it may be used by a website for security reasons.  You know the drill.  You want to leave a comment on your favorite blog or log on to a website and before you can do it, you are required to type a meaningless word in the box.  It’s not as easy as it sounds.  Is that a k or an L?  Could that be an O or is it a B?

Iscabibble!  Drabonit! Boooyahoey!

“Captcha”, the technical term for this process is kind of a bizarre word in itself.

It works like this.  You decide you would like to comment on a blog or log onto a website.  Before it will allow this you must type a group of jumbled and distorted words or numbers.  Sometimes this is not so easy.  Don’t worry, you get a second chance, and maybe even a third to get it right. 

Relax; it is for your own protection and when has something for your own protection actually been enjoyable? Someone has to deter those fiendish robots that are trolling around just looking for someone like you.  I know you wouldn’t really buy diet pills that guarantee you lose 30 lbs. an hour, but I also know you don’t want your inbox to be full of this useless garbage either.

Quit complaining and just type the word.

Carmajizzle!  Prompta! Wockawocka!

I read once that the old time comedian W.C. Fields was entranced with odd words and always gave his characters funny names.  Do you think he was the original user of Captcha?  He came up with names like, Otis Criblecoblis and Effingham Bellweather as well as Mahatma Cane Jeeves.    Sounds plausible to me.  I can just picture him saying to his butler… “My hat, my cane…Jeeves”  Wink, wink!

Monday, January 31, 2011

Herd cooking


Ducklings ACEO


What is “herd cooking” you may ask?  It is the term that I use to describe the type of cooking done when you are serving more than six.  Cafeteria ladies do it in their hairnets.  The military does it in their chow halls.  Caterers and restaurants do it.  Crystal has always done it too…in her home.

I came from a large family by today’s standards.  I was the oldest. I grew up with two brothers and one sister. When I was in my teens I often helped my mother by cooking dinners.
 
My brothers are both over six feet tall and in their teenage years they packed away a ton of groceries.  My sister, while she was always a wisp of thing, could eat them both under the table. When I cooked, I cooked for a herd.

After I grew up and got married, I became a mother of one, but life continually changes and after becoming a fairly young widow, I married a man with two daughters and two sons. 

“Herd cooking” became the norm.  And then, one by one they left the nest. The last little bird has finally flown away.  Sadly, now I cook for only two.  Oh what am I to do? I have, by habit, always multiplied recipes.  I bought large pans and huge pots.  I bought family sized packages, and I shopped at Costco, for crying out loud!   How can a habitual  “herd cooker” learn to cook for two?

I am kind of like a recovering alcoholic.  I must learn to shop light.  I must learn to ignore the giant sized packages that beckon to me. I must bypass the coupons that require a purchase of more than one item. I must learn to walk past the stock up sales.  I must…er….eeek….actually walk quickly past the “buy two get two free” displays.  It’s no sale when you have to toss the leftovers.  How can I recover in a nation of excess?

I can’t resist and I put a package of thirty chicken breasts in my cart, and my husband and I are having chicken parmesan for dinner, chicken biscuits for breakfast, chicken salad for lunch and chicken anything for the next week and a half!  I think my husband is actually starting to cluck.  I just need time to adapt. 

Baby steps, that's the ticket.  I simply reverse my methods.  I halve recipes instead of multiply them.  I buy new pots and pans in smaller sizes.  But mostly I just go out and I buy a large freezer.

Saturday, January 29, 2011

Mary the Gnome


I have always made costumes for my daughter throughout her entire life.  As I list these costumes, the memories flood back. 

She was:
An Indian on horseback
A devil…
And an Angel on a cloud (her horse)
A Scarecrow on a scarecrow horse
A medieval maiden
Jeannie (from “I dream of”)
Black Beauty (yes the horse)
A cheerleader
And a witch
Alice in wonderland
And a child on a carousel horse

Now she is grown and we work together on costumes for her at times.  Its fun and she can have a costume no one else is wearing.  So this past year in October she decided she wanted to be a Gnome.  I guess that desire lay dormant in her ever since she was little and one of her favorite television programs was a show called “David the Gnome.”

A new movie is coming out soon called, “Gnomeo and Juliet.”  It is a tale about two star-crossed gnome lovers from feuding families, well you all know the story. Since it is computer generated animation I am sure this rendition has a happier ending. Anyway if all of a sudden next year a lot of people are dressing up as gnomes, just remember, for my daughter and I, that was sooooo last year! 

J

Friday, January 28, 2011

The life cycle of a Virginia snowman


Since it's almost Christmas and still not a flake has fallen I thought I would re-post this little story from a couple years ago.  Enjoy your holidays and as the song says I hope there's snow and mistletoe...just enough, not a ton, just some flakes and ground cover.

The week’s snowfall, although forecast to be much more, brought only a measly two inches or so.  I’m not complaining by any means. I know a lot of people got a foot or more. Even with this puny amount of snowfall I had an overwhelming desire to build a snowman.  I would just have to improvise. I know snowmen in my part of Virginia, even pygmy ones have a life span similar to a fruit fly, but I figured what the heck.   I always enjoyed scientific experiments so I figured I would document the life cycle of a Virginia snowman for posterity.

9:00 a.m. – I realize there will not be enough snow to build a regular size snow person so I settle on a miniature one.

9:18 a.m. - I look out the window at the snow and calculate where the best spot would be.  Since the snow is a bit crusty I decide to wait a few minutes for the snow to get a bit wetter.

10:00 a.m. – I check out the snow and it appears to pack well enough to get to work.  After all I only need a small amount.  In order to avoid a trip to the Chiropractor, I settle on a bench to start my experiment. 

10:05 a. m. – Bonus! I find out that a mini snowman gets created much quicker than the larger kind.  I use some peppercorns from my kitchen for his features, wrap a scarf around his neck, and put a doll hat on his head and step back to admire my creation.  Darn, he doesn’t come to life so I guess there wasn’t any magic in that hat.


10:10 a.m. – Finished!  His day begins.

11:15 a. m. – I go outside to check on my snowman and find he is sitting in a puddle.  Oh no, the melting has stated.  He looks a bit bedraggled and has lost an eye.  Note: Virginia winters are not very kind to snow people.

1:37 p.m. – The end is near.  I go outside and discover that he has fallen, and yes, he can’t get up!  His hat is upside down and filled with cold water.  It is the beginning of the end.


3:00 p.m. – Nothing left but a puddle, a hat, a few peppercorns and a very wet scarf.  Farewell, little snowman. I know, I know I won't cry,  you will be back again someday!


J

Thursday, January 27, 2011

Thundersnow?


A twig peeks out


I was under the impression that I have lived long enough that nothing would be able to knock me for a loop. There is a woman, however, who can still pull surprises out of a hat.  Her name is Mother Nature.

The weatherman had been forecasting a potentially heavy snowfall for the area since last week.  In Virginia weather predictions can no longer surprise anyone. Precip…toss the dice.  Amount? Pick a number, any number from one to ten. 

This time they promised a snowman building snow.  Wet enough to pack together and, well, enough to actually create one over a couple of inches tall. 

Our event started with rain and lots of it.  Then it changed to sleet my favorite precipitation. (Kidding!)  Not content to remain in this state it then changed into a wet snow full of flakes the size of dinner plates.

And then the thunder started!!  Thunder in January! Thundersnow?  I thought I was dreaming, but this morning the newspaper’s front page proclaimed this rare phenomenon a fact!

How many inches did we get? Well I guess it varied for each ten miles as is common in this State, but in my area we got around two inches.  No snowman for me.  In addition the temperature turned a bit colder so the snow that was supposed to be packable was just dry and crusty.  You won’t win any snowball fights that way.

I can’t complain.  At least it’s not “Snowmageddon” as the media dubbed it during last year’s rare back-to-back blizzards.  It was just  “Thundersnow.”  Here in the south we just love those nicknames! 

Bending to nature's will

Wednesday, January 26, 2011

Recycled paper bag friendship bracelet


I know, I got you with the title.  It isn’t technically a paper bag friendship bracelet. I guess I should have titled it, “Beads made from a brown paper bag friendship bracelet,” but that doesn’t exactly flow off the tongue now does it?  After I made this bracelet I asked my husband what he thought they were.  He had the typical male answer--rivets.  Then I told him to pick it up and he was amazed at how lightweight they were.  That is because they are paper!

These beads are pretty easy to make and after you make a couple you can zip through a bunch in no time.  Make them in any color you want but metallic looks especially nice.  They are great for teenagers to make in school colors and for special events.  The best part is that they cost, well, practically nothing. 

You will need:

Paper bag (one will make a ton of beads)

Acrylic paint in desired colors.  I used a russet metallic

Small paintbrush

Decoupage glue, Gloss Modpodge is a good one

Ruler, pencil, scissors,

Waxed paper

Bamboo skewer

.7 mm Stretch beading cord

1.     Cover your work surface with a piece of waxed paper.

2.     Cut a piece of brown paper bag 6 ½” by 14”. 


3.     Brush acrylic paint of choice onto the surface of one side of the paper.  Let dry.  Brush a coat of decoupage glue on top of the painted surface.


4.     Lay the paper out lengthwise and working vertically on the unpainted side, measure 1/4” with your ruler.  Draw a line that gradually tapers to a point. Working in the opposite side and direction, repeat this step, also tapering.  Continue across alternating so that you have as many tapered strips as needed.


5.     Cut the strips out.  Each strip makes one bead.


6.     Lay a strip on the waxed paper and with a small paintbrush, apply some decoupage glue onto the unpainted side of the strip.  Do not apply glue to the last 1/8 inch of the wider end of the strip. 


7.     Starting with the wider end place on the skewer and hold tight with finger, start to roll.  Continue rolling making sure to stay centered.  Finish with the pointed end.  Immediately remove from skewer and add a tad of glue with a toothpick if the pointed end is not completely adhered.


8.     When you have enough beads for your needs, measure a piece of 7mm beading cord around wrist leaving enough extra to tie into a knot.  String the beads onto the cord and knot it.  Weave the ends into the beads on each side. 


This would make a fun Girl Scout project for teens or pre-teens.  Swaps anyone?


Monday, January 24, 2011

Thaw no more


Ready to blossom?  Not yet!


Last week’s thaw brought a reprieve from the cold winter weather. Flora and fauna rejoiced.  The rabbits arose from their burrows hopping around looking for fresh shoots.  The trees sprouted buds and the irises poked up through the formerly frozen ground.  Now they will all have to just put it on hold.

This week winter returned with a vengeance.  Old man winter has come back from his northern vacation home and he is spreading his icy breath all over the place. 

The false spring is history. I’m no groundhog but I am predicting a bit more winter.  So you had better button up.


Saturday, January 22, 2011

Purse Photography


Into the recesses of a...purse


Most of you have had a phone call that has been butt dialed by someone unbeknownst to him or her.  My brother is famous for butt dialing.  I stand there speaking into the phone only to hear distant voices in a conversation of which I am not a part.

Fortunately my phone, which I keep in my purse, has never dialed a number without my knowledge.  Those little gremlins that practice those sorts of pranks use another trick on me.  It is a little thing called purse photography.

Those little guys who make their home in my purse have lately started having a blast. 

I take out my phone only to discover the battery has depleted while the miniature photographers are busy at work.  I discover a myriad of photos...of the inside of my purse.  No I didn’t snap idiotic snapshots of my lipstick container, those dastardly gremlins did it. 

Now, most of these images are mainly black space, (It’s dark in there) but occasionally it may be identifiable.  Hopefully they will hone their craft and come up with some really good shots.  If not my phone plan expires in March and perhaps I will get a smart phone.  With any luck maybe that phone will be smarter than they are. 

Friday, January 21, 2011

January thaw?


Iris, ACEO


This week temperatures have been in 50’s.  In recent days, no amount of threats from the local weatherman about snow or ice has materialized to more than a dusting of snow. Last night the weather report called for ice and snow.  I am sure every school-aged child expected a snow day. Some no doubt, wore their pajamas inside out. (A lame superstition to bring on a school cancellation) I only hope they did their homework. 

I woke up today to the sun shining. I’m not complaining by any means.  I am no scientist but I believe that we are experiencing the phenomenon known as, “The January thaw.” Even my irises have started to poke up through the soil!

According to Wikipedia during this period of mid-winter, temperatures rise to 10 degrees F above normal and last for about a week. Also mentioned is the fact that it usually occurs in Late January and that this temperature rise is pretty much unexplained.

I am sure that I would be hard pressed to convince anyone in the upper northeast states that January thaw exists. I am also certain that there will be a second blast of winter. At the moment though, here in Va., I believe-- we have thaw.


Wednesday, January 19, 2011

Easy Felt Heart Earrings


It’s Wednesday and time for another easy and inexpensive craft project…

These earrings are easy to make, inexpensive and are very lightweight.  You can make them quickly so why not make a few sets to give away as gifts?  One sheet of white and red felt will make several pairs, or you can use scrap felt you already have on hand.

You will need:

Embossed red felt (you may substitute regular red felt if desired)

Stiffened white felt

Paper edgers in a tiny scallop design

Tiny hole punch or substitute a very sharp darning needle

Scissors

Cuticle scissors or decoupage scissors for fine trimming of the heart

Tacky Glue

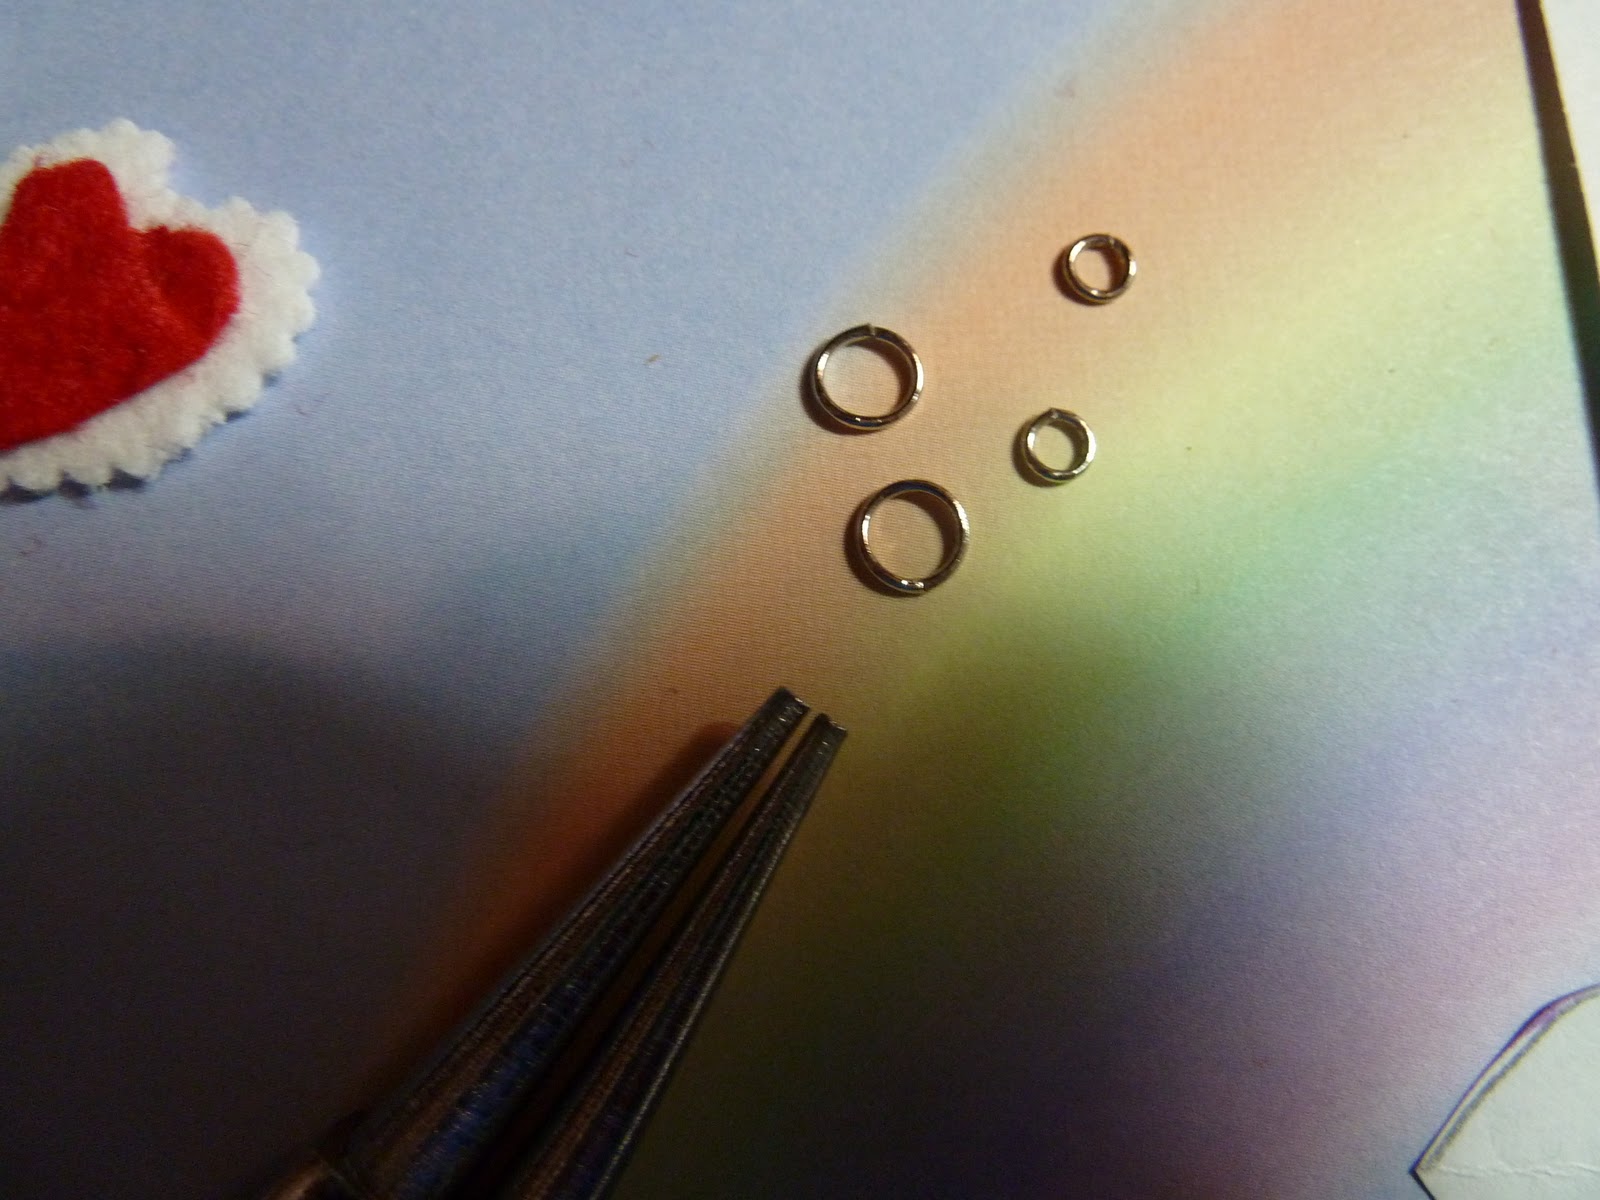
Two sizes of jump rings, one a bit larger than the other

Fish hook ear wires

Needle nosed pliers

Paper, pencil, ruler


1.     Fold a piece of paper in half and on the fold, draw a half heart shape a little less than ¼” at the widest point. (See photo)  Cut out.  Small heart pattern made.


Refold the small heart pattern and re-place on the fold.  Using this pattern trace around a little bit larger.  Cut out.  Second heart pattern made. (See photo) 


3.     Open the smaller heart pattern and place onto the red embossed felt and trace around.  Cut out.  Repeat for two hearts.


4.     Using the larger heart pattern trace onto the stiffened white felt.  Cut out with small scalloped paper edgers.  Repeat for two hearts. 


5.     Using the cuticle scissors reposition the pattern back the red felt heart and using the pattern as a guide trim up any raw or uneven edges.  Repeat for other red felt heart. If you have cut it out neatly this step may not be necessary.


6.     Spread some tacky glue onto the back of the red felt heart and attach to the center of the white stiffened felt heart.  Repeat for second earring.


7.     Make a hole with a tiny hole punch or darning needle at the center of each heart.


8.     Using a needle nosed pliers, open the larger jump ring with a twisting motion and thread it into the hole you just made at the top center of the heart.  Close the jump ring twisting in the opposite direction.  Open the smaller jump ring in the same way.  Attach to the large jump ring adding the fish hook ear wire as well.  Make sure the ear wire is facing in the proper direction.  Twist it closed.  Repeat for other heart.


Note:  If you would like post type earrings, do not punch a hole in the center of the hearts and simply glue on post earring findings to the back of the hearts.
Related Posts with Thumbnails